How to Create FiveM Assets with Sollumz 2.8.0: Complete Beginner's Guide
Learn how to create buildings, vehicles, and props for FiveM using Sollumz 2.8.0 and Blender. This free guide covers setup, basic building creation, materials, and the new native binary format support.
Sollumz 2.8.0 changed everything for FiveM asset creation. The new native binary format support means you can skip the XML conversion nightmare and work directly with GTA V's file formats. But here's the problem: most tutorials are still stuck on 2.7.0, and the 2.8.0 changes aren't documented anywhere useful.
This guide fixes that. I'll walk you through setting up Sollumz 2.8.0 properly, creating your first building, and getting it into FiveM. Everything here is tested, current, and actually works. No outdated workflows, no broken steps.
What's New in Sollumz 2.8.0?
The big change is native binary format support. Sollumz 2.8.0 can now directly import and export GTA V's native binary formats (.ydr, .ydd, .ybn, .ytyp, .yft) without requiring XML conversion. This is powered by PyMateria, the Python bindings for the Materia library developed in collaboration with Rockstar Games and Cfx.re.
What that means for you: no more exporting to XML, opening CodeWalker, converting files, and hoping nothing breaks. Just File > Export > Sollumz, choose your format, and you're done. It's faster, simpler, and way less error-prone.
There's also automatic shattermap generation for vehicle windows (we'll cover that in the full guide), better collision handling, and improved MLO support. But the binary format support is the game-changer.
What You'll Need
First things first, you'll need Blender 4.0 or higher installed. If you're starting fresh, I'd actually recommend grabbing Blender 5.0 if it's available—it plays really nicely with Sollumz 2.8.0. You can download it from blender.org if you don't have it yet.
Next up is Sollumz 2.8.0. Head over to the GitHub releases page and grab the latest version. When you install Sollumz, you'll also need something called PyMateria. Don't worry about downloading it separately—Sollumz will ask you if you want to install it automatically when you first enable the add-on. Just say yes!
About PyMateria
PyMateria is a required dependency that powers Sollumz 2.8.0's native binary format support. When you first enable Sollumz, you'll get a prompt asking if you want to install it—definitely click "Yes"! Currently, PyMateria is only available on Windows. If you're on Linux or macOS, you can still use Sollumz, but you'll need to use the XML export workflow (File > Export > CodeWalker XML) until PyMateria support is added for those platforms.
Installing Sollumz in Blender
Start by downloading the Sollumz 2.8.0 ZIP file from the GitHub releases page. Don't unzip it—Blender wants the ZIP file as-is. Once you've got that downloaded, fire up Blender (make sure you're on version 4.0 or higher).
In Blender, head to Edit > Preferences to open the preferences window. Click on the "Add-ons" tab at the top, then look for the "Install..." button. Click that, navigate to where you saved the Sollumz ZIP file, and select it. Blender will install it for you.
Now here's the important part: after installation, you need to actually enable the add-on. Look for "Sollumz" in the add-ons list and check the box next to it. This is when you'll get that prompt about PyMateria—go ahead and click "Yes" to install it automatically. This is crucial because PyMateria is what enables the direct binary format support.
Once everything is enabled, make sure to click "Save Preferences" at the bottom of the preferences window. This ensures Sollumz stays enabled even after you restart Blender.
Getting Familiar with Sollumz
Once Sollumz is installed and enabled, you'll notice some new things in Blender. The main tool you'll be using is the Sollumz Tools panel, which you'll find in the sidebar. If you don't see the sidebar, just press N to toggle it. This panel is where most of the Sollumz magic happens—converting objects, creating materials, setting up collisions, all that good stuff.
There's also a handy Sollumz Pie Menu you can access by pressing V in the 3D viewport. This gives you quick access to common operations without having to dig through menus.
In the File menu, you'll now see new import and export options. The big one is File > Import/Export > Sollumz, which lets you work directly with native GTA V binary formats (.ydr, .ydd, .ybn, .ytyp, .yft files). This is the new hotness in 2.8.0—no more XML conversion needed!
One last thing before we move on: it's a good idea to set up your Blender project with real-world scale right from the start. GTA V uses a scale where 1 Blender unit equals 1 meter, so make sure your scene is set up that way. You can check and adjust this in Blender's scene properties.
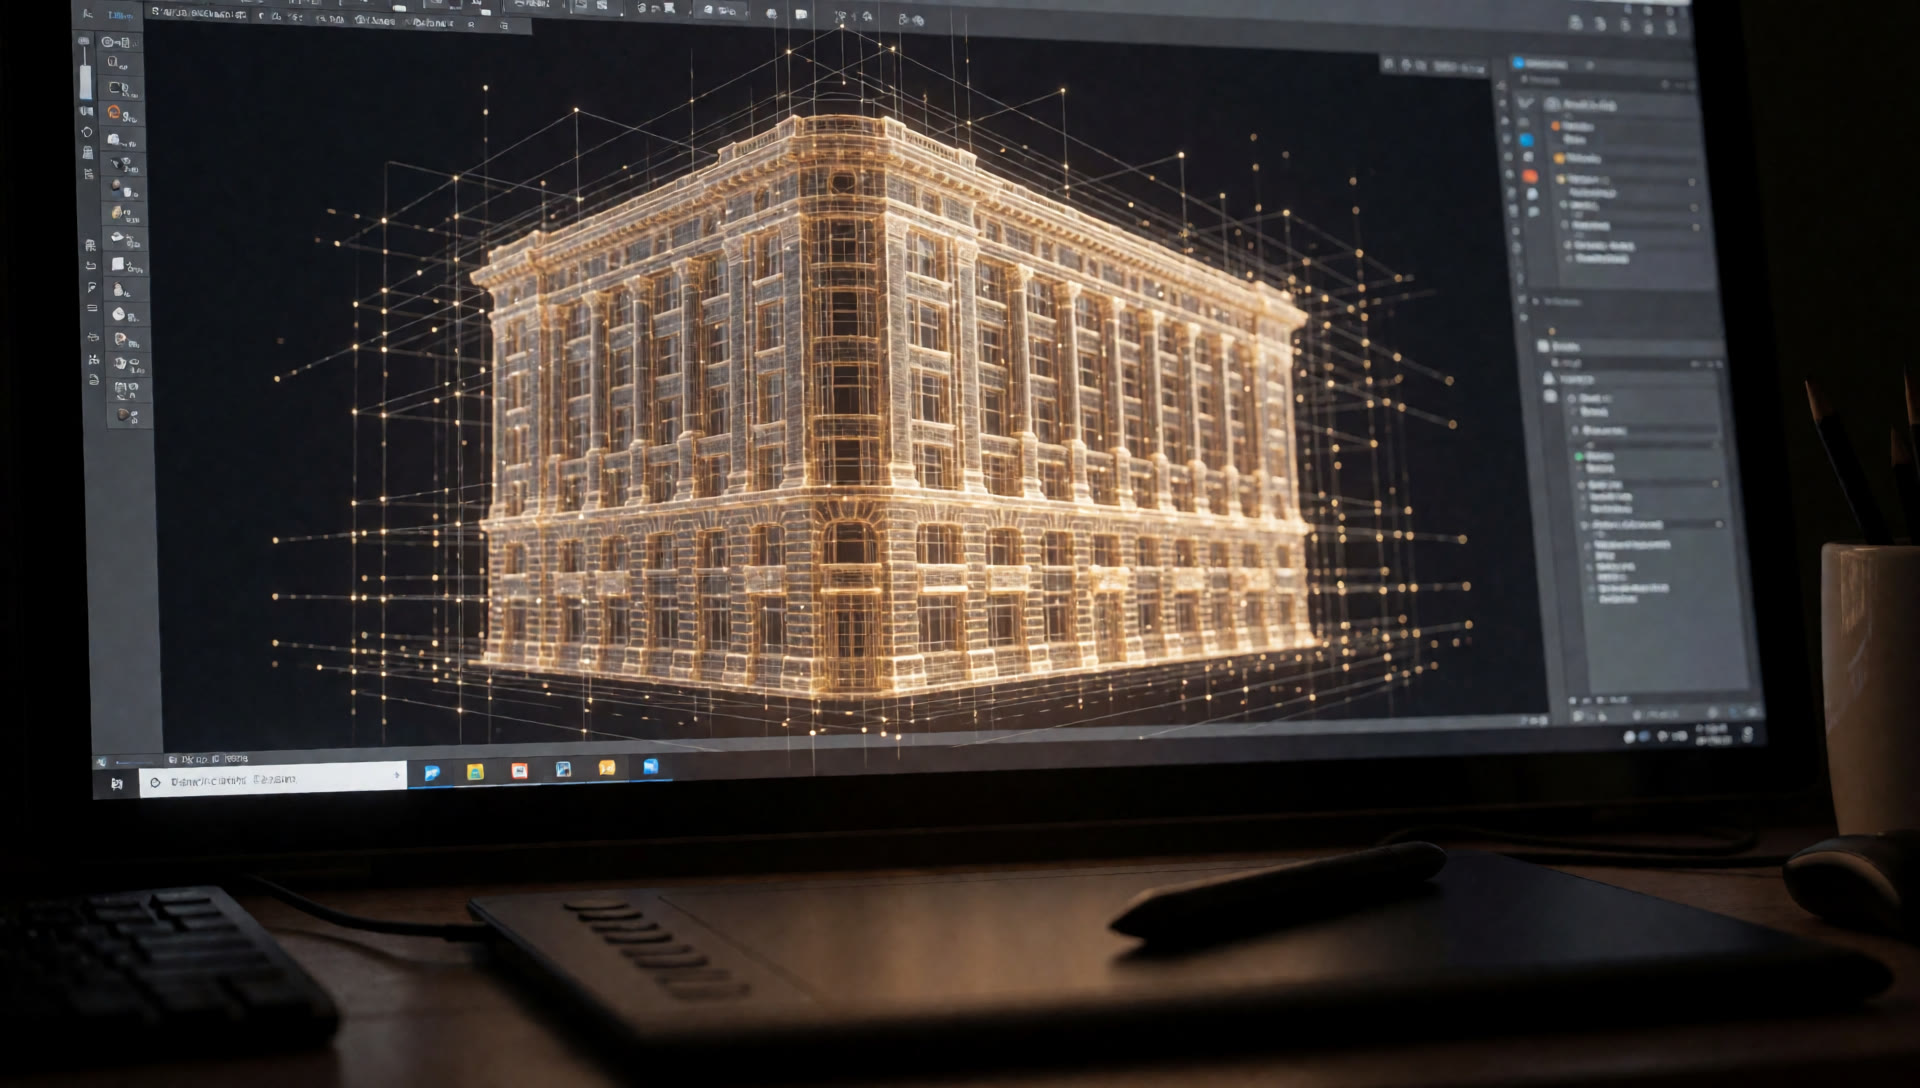
Creating Your First Building (YDR)
YDR files (short for "Drawable") are the bread and butter of GTA V asset creation. They're the standard format for static objects and buildings—basically anything that doesn't move or have complex interior logic. Creating one is pretty straightforward once you know the steps.
Start by creating or importing your 3D model in Blender. This is where your artistic vision comes to life. Make sure your model is properly UV-mapped for texturing—you'll thank yourself later when you're applying materials. Once you've got your geometry sorted, there are a couple of housekeeping tasks you should do before converting to a drawable.
First, apply all transformations. Select your model and press Ctrl+A, then choose "All Transforms" from the menu. This locks in your scale, rotation, and location, which is important for GTA V. Next, center the origin of your model by right-clicking and going to Set Origin > Origin to Geometry. This ensures your building will be positioned correctly when you place it in the game world.
Now comes the fun part—converting your model to a drawable. Select your 3D model in the viewport, then head over to the Sollumz Tools panel (remember, press N if you don't see it). Navigate to Drawable > Create Drawable Objects and click "Convert to Drawable". You'll see a new empty object appear in your outliner called "Drawable", and your selected objects will become Drawable models as children of this parent object. This hierarchy is important—it's how GTA V organizes drawable assets.
Materials and Textures
A building without materials is like a skeleton without skin—technically there, but not very appealing. This is where you make your building look like it belongs in GTA V. The process starts with selecting one of your Drawable Models, then heading to Sollumz Tools > Drawable > Shader Tools.
GTA V uses specific shaders for different surface types. The most common one you'll use is "NORMAL"—it's the workhorse shader that handles diffuse color maps and normal maps, which is perfect for most building surfaces. Search for it in the shader tools, then click "Create Shader Material". This creates a material that GTA V understands.
Now switch to Blender's Shading tab to actually assign your textures. This is where you connect your texture files to the material. In the Sollumz Texture Parameter panel, make sure to check the "Embedded" box—this includes your textures directly in the YDR file, which means you don't have to worry about separate texture files when you export. For each texture, set the appropriate usage: "diffuse" for your color maps, "normal" for normal maps, and so on.
When it comes to textures, there are some best practices that'll make your life easier. First, use the DDS format with mipmaps—it's what GTA V expects and it performs better. For compression, use DXT1 for opaque textures and DXT5 for textures with transparency.
Choosing the Right Shader
GTA V has a whole library of shaders, but you'll mostly use a handful: DEFAULT for basic surfaces without textures, NORMAL for standard surfaces with diffuse and normal maps, NORMAL_SPEC when you need specular highlights, and SPEC for metallic surfaces. Don't overthink it—use the simplest shader that does what you need.
Adding Collisions
Right now, your building looks great, but players would just walk right through it. That's where collisions come in. Collisions are invisible meshes that define what players and objects can actually interact with. Think of them as the "solid" version of your building—same shape, but optimized for physics calculations.
Start by duplicating your model (select it and press Shift+D). This gives you a copy to work with. Press Alt+P and choose "Clear Parent and Keep Transformation" to separate it from the drawable hierarchy. Now simplify this mesh—remove decorative details, trim down the geometry. Collisions don't need to be as detailed as your visual model; they just need to match the overall shape. Rename it something clear like "your_model_col" so you know what it is.
With your simplified collision mesh selected, head to Sollumz Tools > Drawable > Collision > Create Bounds and click "Convert to Composite". This creates the proper collision hierarchy that GTA V expects. Make sure to remove any existing materials from the collision mesh—collisions don't use visual materials.
Now you need to assign a collision material. Select your collision mesh in the hierarchy, go to Sollumz Tools > Drawable > Collision, and click "Create Collision Material". Choose the appropriate material type from the dropdown—CONCRETE for concrete surfaces, METAL for metal, WOOD for wood, and so on. This isn't just cosmetic; different materials affect physics, audio, and visual effects.
Finally, embed the collision into your drawable. Select your collision hierarchy, hold Shift and also select your Drawable object. In the Outliner, shift-drag the collision hierarchy underneath the Drawable. This parents the collision to the Drawable, embedding it into the YDR file. When you export, the collision will be included automatically.
Alignment is Critical
Make absolutely sure your collision mesh is properly aligned with your visual model. If they're off even slightly, players will experience weird physics—walking through walls, floating above floors, or getting stuck on invisible barriers. Take the time to verify alignment before exporting.
Exporting Your Building
With Sollumz 2.8.0, exporting is dead simple. Select your Drawable object (the parent, not the individual models), then head to File > Export > Sollumz. Choose YDR (Drawable) from the format dropdown, make sure your game version is set correctly (Legacy Gen8 or Enhanced Gen9), and click "Export Sollumz". That's it. No XML conversion, no CodeWalker, no extra steps. Your YDR file is ready to use.
The exported file will include your model, materials, textures (if embedded), and collision—everything you need. You can now use this YDR file in your FiveM server or convert it further if needed.
What's Next?
This guide covered the basics: setup, creating a simple building, adding materials, and setting up collisions. But there's a lot more to learn if you want to create professional assets for FiveM.
The complete guide covers:
- MLOs (Multi-Level Objects) — Creating full interiors with rooms, portals, and entities that players can actually explore
- Vehicle Creation (YFT) — Building vehicles with automatic shattermap generation, proper rigging, and collision setup
- Prop Creation — Creating static and dynamic props with embedded collisions
- LOD Optimization — Creating multiple detail levels for better performance
- Vertex Colors — Adding night-time illumination and atmospheric effects
- Lighting Setup — Adding lights with time flags and volumetric effects
- FiveM Integration — Complete workflow from Blender to your server, including fxmanifest setup and resource structure
- Troubleshooting — Common issues and how to fix them
- Optimization Techniques — Texture atlasing, collision simplification, and performance tips
Plus, the full guide includes interactive features like progress tracking, code copying, and a step-by-step checklist companion. Everything is written for Sollumz 2.8.0 specifically, so you're not dealing with outdated workflows.
Get the Complete Sollumz 2.8.0 Guide →
The complete guide is 69KB of comprehensive, tested content covering everything from basic buildings to complex MLOs and vehicles. It's the resource I wish I had when I started creating FiveM assets.
More FiveM Resources
Need custom work? I build bespoke scripts from £20 and MLOs on a quote basis. Check out my full FiveM development services or browse the ready-made scripts on Tebex.
Questions? Drop by the Discord and let me know how it goes.
More posts.
Why I Use QB-Core Over ESX (And When You Shouldn't)
After trying every framework out there, I settled on QB-Core. Here's why — and the trade-offs.
AJD Dumpster Diving - Free QB-Core Script Release
A fully-featured free dumpster diving script for QB-Core — weighted loot tables, anti-cheat, selling system.
32 Bits of Authority: On Becoming the Expert I Used to Watch
Turning 32 and becoming the expert I used to watch on TV.